

(note: there appear to be many steps because i seriously listed them out one at a time and didn't combine any steps.)
list of supplies:
1. 11x14 frame
2. 2 pieces of 12x12 scrapbook paper
3. 7 small clothespins
4. letter stickers
5. printable business cards
6. small box for cards not currently on the menu
7. mod podge
8. hot glue and gun
9. OPTIONAL beacon 3 in 1 advanced craft glue
10. Elmer's glue or tape runner

i bought this frame from walmart. i couldn't find one without a mat that said 11x14 so i got this one and just didn't use the mat.
- purchase/gather supplies.
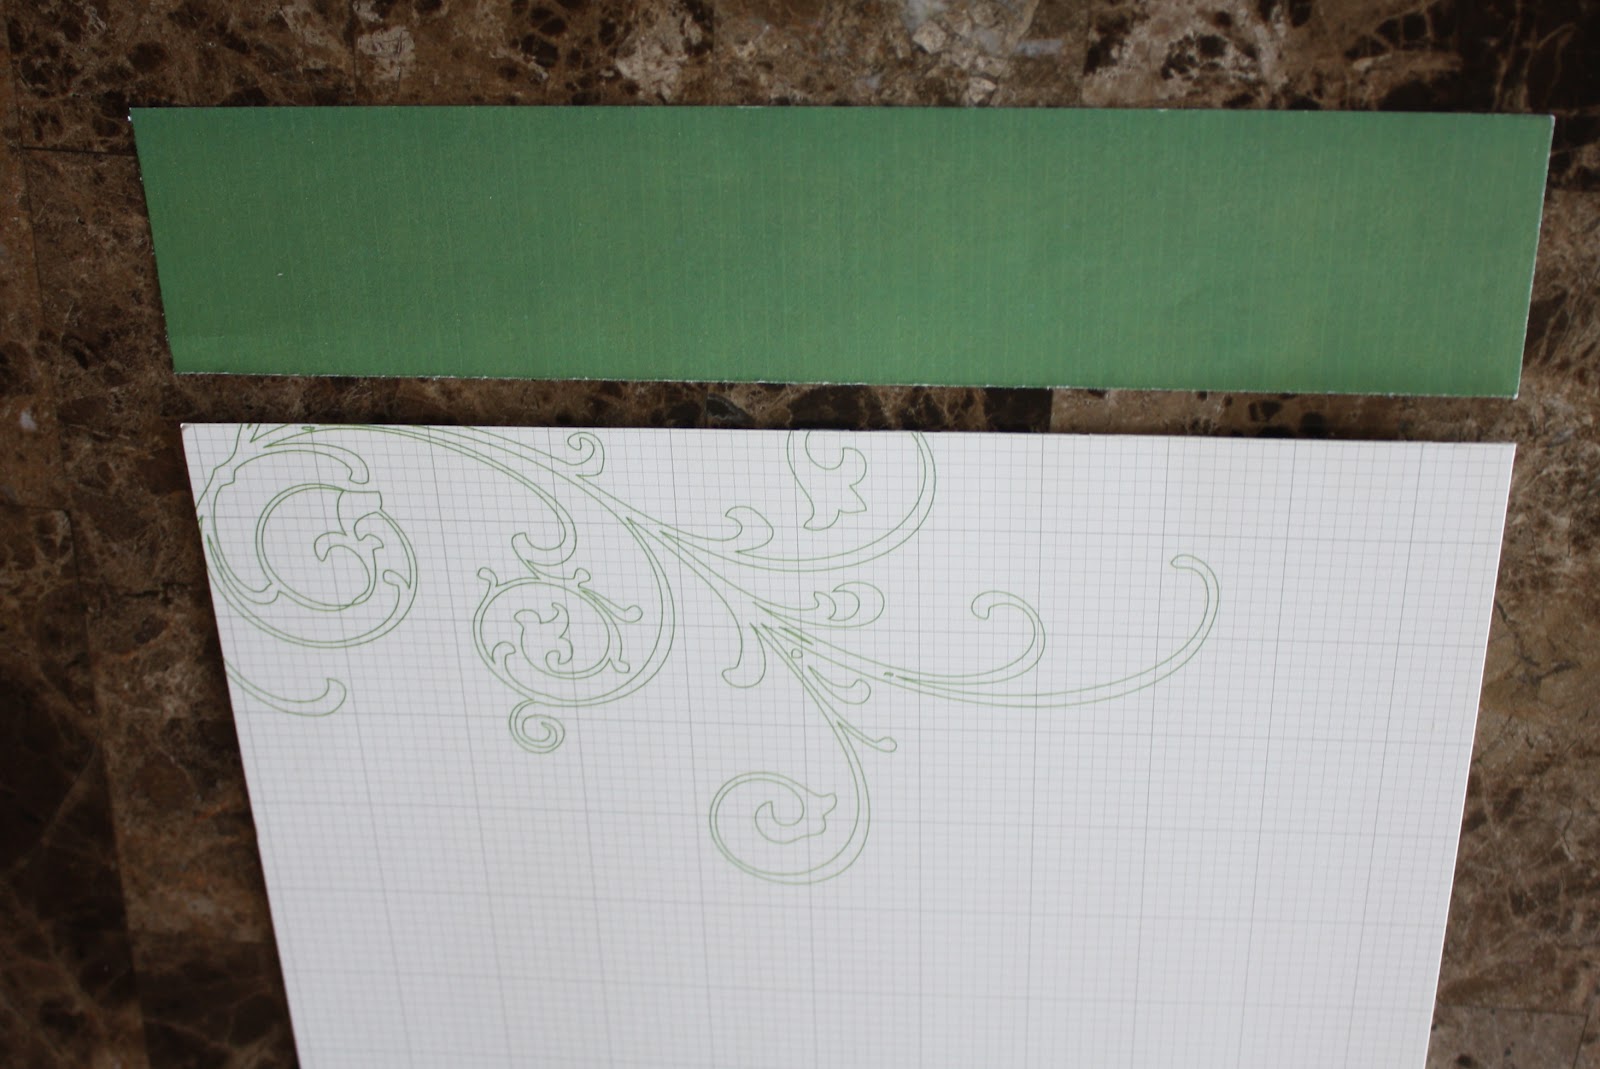
- take your 2 pieces of 12x12 scrapbook paper and select which would be the bottom color and which will be the top border. (I forgot to take a pic of the 2 pieces of paper before i trimmed them.)
- cut 1 in off the bottom color and 2.5 in off for the top border piece.
- lay your bottom piece of paper down.

- lay down your top border piece.

- put the back of your frame on and flip over to make sure your pages are in the frame right.
 |
| ignore the ruler |
- take a box (clairsfairytale used crayola boxes i chose to use a kraft macaroni and cheese box as that was what we had for dinner that night) and cut in half or smaller. (i chose in half so that my cards would be hidden from the sight of little hands).
- take the remainder page from the top border color and trim to wrap your box (like you would a present) in the below image you can see i didn't quite have enough left over paper to wrap all the way around the box but since it will be on the frame you won't be able to tell. i used a scrapbooking permanent tape runner to glue the paper to the box, you could use mod podge or Elmer's glue.

- take the remainder 1 in piece from your bottom page and cut into smaller strips to cover your clothespins. you could also dye them with food coloring or rit dye.

- mod podge the crap out of the clothespins and the covered box. i used 3 layers.
 |
| i recently purchased the handy professional decoupage tools and thought i'd try them out. if you've ever used mod podge before you know it can bubble up and these helped IMMENSELY! i also purchased outdoor mod podge because i couldn't find my regular mod podge and refused to buy something i had hiding somewhere around the house. |
- while that's drying decide what you want your menu board to say such as "menu" or "what's for dinner", etc. then decide if your stickers can go on the outside of the glass or need to be under your glass. i used chipboard stickers and put them under the glass to make sure they stayed put. i used a ruler to make sure they stayed level when applying.

- use some business cards to figure out your layout and spacing.

- mark where you want your clothespins to be (remembering to account for your box). i used 2.5 in spacing on both sides starting from the bottom on the left and from the top of the box on the right putting 4 clothespins on the left and 3 on the right.

- hot glue your clothespins to the frame. making sure if you made marks that your clothespin splits the mark and are straight up against the inside part of the frame this will help with keeping them level.

- attach your box. i used beacon 3 in1 advanced craft glue. i tried about 4 times to hot glue it to the glass and couldn't get it to stick.

- print your menu choices onto cards. i chose to use business cards for their size and perforated-ness. i printed the main item and 2 sides on the front of each card and the recipe on the back. (sorry i forgot to take pics of those.)i mod podged these as well for durability.
and voila! you can now have a menu board like mine :)
i hope you enjoyed the tutorial!

No comments:
Post a Comment